weChook Racing: Electric 3Galoo Build Log – Building the ‘mono-coffin’, getting gluey
Now that all our panels were ready we are ready to start gluing the driver cell together. The important part here appears to be ensuring that you get as large a contact area as possible. The tabs on our design increase our contact surface for a start. We can further improve the bond of the chassis by ensuring that the panels pull together as tightly as possible to minimise the gaps between them and ensure the epoxy we are using can do it’s job. To achieve this we have found that ordinary wood screws actually work really well in to the dense Divinycell H80, even better than the Rohacell we had previously used in 2galoo’s design. We put washers (and when I ran out of washers all number of metal spreading plates we could find!) on the heads of the screws which helps spread the load and not crush the foam.
We have used a fast curing epoxy for this so that hopefully we can apply our fibreglass to the outside of the driver cell later in the day.
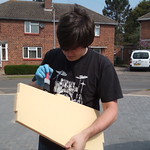
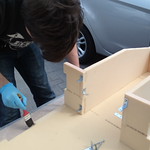
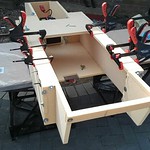
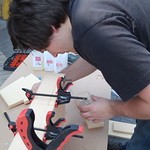
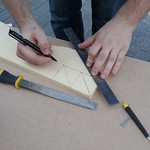
We had a little spare epoxy left over at the end of the session so rather than wasting it we decided to add some strengthening corner pieces. These were quickly cut on the bandsaw and have been placed in areas of the driver cell where we feel a little more strength may be beneficial but won’t get in the way of the driver. These pieces will increase our bond surface area and for the additional weight of them (tiny!) we think they are worth using.
Next up, glassing the outside of the driver cell.

Leave a Reply